
Introduction: A model railroader returns
Like many in this hobby I had a fascination with railways
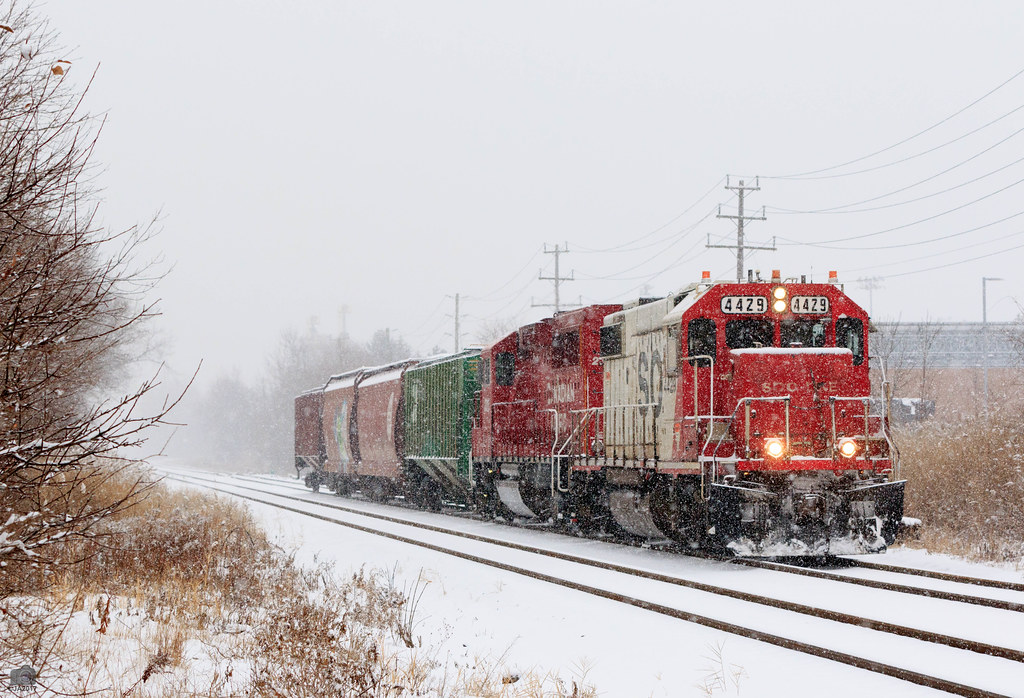
from an early age. I grew up on Vancouver Island, watching CP freight and VIA
passenger trains roll by. At that time, I
couldn’t learn enough about the railroad and when I was about 10, I got
a HO scale train set for Christmas. That oval loop of brass track with its
light, crappy cars and temperamental Tyco locomotive should have driven me away
from the hobby. Instead, I was hooked.
I expanded my empire to a 4x8, the plywood sheet supported
only by a pair of sawhorses inadequate for the task, causing the plywood to sag
at the corners. I now know that I tried to cram too much track onto that layout
but along the way I learned to lay track and run wire. Later on, I built a
shelf layout extending around a corner of our unfinished basement in an
L-shape. This layout was never finished but here I learned the beauty of model
railroading at eye level, never having to perform gut-busting stretch to reach
the middle of the layout or squirm far, far beneath it to wire a turnout. And
although it meant the end of continuous run, I also saw the rise in realism
created by not watching a train chase its own tail.
The challenges of those early days
I read Model Railroader and wanted to create a railroad that
at least came close to what I saw in its pages but at that point in my life it
was something I could never attain.
Here’s the main reasons why:
· Money – I tried to do it as cheap as I could but $15 for
an Atlas Snap Track turnout gets expensive for a 12 year old. My parents
weren’t poor but they weren’t rich either. Cash for my supplies and materials
had to come from a limited fund fuelled solely by paper route and birthday
money.
· DIY?
M.I.A. - My Dad is
a great father but handy he’s not. He hated doing any kind of manual
labour or maintenance work. My mother was much better with tools but we didn’t
have many in the house. I remember a mis-matched, motley collection of cheap
tools in a cardboard box in the basement, the kind of tools you often see
spread out on a driveway at a garage sale. I remember saving up $30 to buy a
Black and Decker jigsaw to cut the plywood top of my layout. I got it home,
read the instructions and for a long time was petrified to turn it on. I had
never used such a power tool before. While it’s true you can get started in
model railroading with basic tools, eventually you run into barriers while
working in a house that lacks even the basics. I begged, borrowed and bought
tools when I needed them but the limited too arsenal was a constant source of
frustration.
Why did I stop MRing?
High school turned to university and that involved a move to
a town two hours away. During those years I never had the time, money or space
for model railroading. I worked during university and in the summers moved
around to different jobs as I built up work experience and focused on my
career. Meanwhile my parents switched houses, the train stuff was carefully
packed up into boxes and as I write this in 2012, my old train stuff still sits
in the garage of my parents house 4,300 kilometres away. I will devote future
blog entries to the contents of these boxes, which I will refer to as the
Vancouver Island Model Railroading Time Capsule.
After university, I moved to Toronto to further work on my
career.
I moved from place to place and job to job and just never
felt settled enough in any one space to invest the time and energy into a
layout. Available space, the great limiter of all model railroaders (besides
money), was also in short supply.
I got married in 2004 and we bought our first house together
shortly after but it was tiny (13 feet wide from one exterior wall to another).
The basement in that first house resembled a ship’s hold with a dirt floor and
a steep, narrow staircase. No good for a layout.
After a few years in that starter home we moved to the house
we’re in now. And while this was a big step up in space, this house was a
four-year reno project that really only wrapped up last year. My wife and I did
much of the work ourselves and along the way I acquired new DIY skills and the
precious tools I could never have imagined owning back in my parent’s basement.
I am now comfortable soldering copper plumbing, cutting a sheet of plywood on a
table saw and wiring a new circuit into the electrical panel.
And now…
My job and living situation feels as “settled” as one ever
can be. Our renovation is complete, leaving me with a large, unfinished
basement to play in. That doesn’t mean I can have all the basement. There’s a
monstrous run of heating pipes, a workbench and other claims to that space.
Plus our first child is coming so you know kid stuff is going to take up much
of that basement space. I don’t want a monster layout even if I could somehow negotiate
one with my wife. What I do have is a 10x12 footprint for a layout and opposite
it a well-stocked workbench. Finally I have the place to set up a layout. This
blog will document that process.
The aim of this blog…
As I make a reentry into the MR world, I hope to build on
the skills I learned years ago while acquiring new ones. As I learn, my hope is
that you will too. I’m sure to make mistakes, and do things that will make for
plenty of eye-rolling from other
model railroaders. I’m open to your input and intelligent criticism (I can take
it) so long as we all keep well away from the nasty tone that can often spoil
so much online discourse. This layout is a journey and this blog will allow
readers to make it with me.
I look forward to hearing from you as I get this
train rolling.
No comments:
Post a Comment