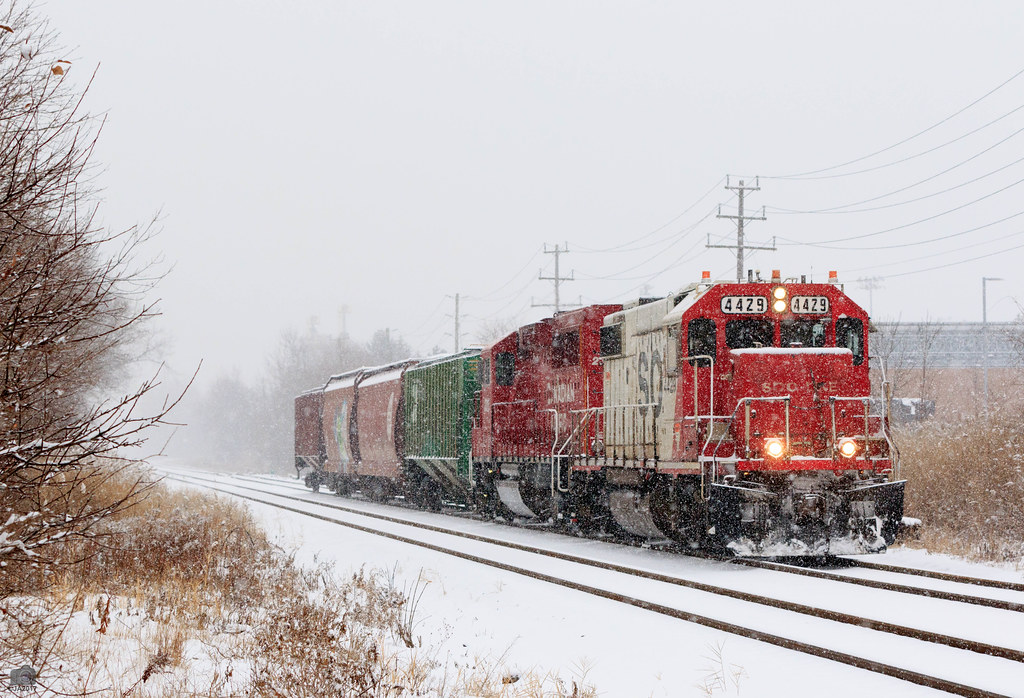
Snowy Soo

Winter Railroading.
Showing posts with label track plan. Show all posts

Tuesday, 26 November 2013

(Mini) layout update

Some progress to report


Greetings, the snow is starting to fall so it's officially model railroad season. I've managed to make some small progress on my layout in the past few weeks. Here's a summary.

Tweaking the track plan

I felt the layout would operate better if there was some "off layout" staging on the peninsula. That way a train could start on the workbench (east) staging move through the layout and exchange cars, then head to the staging track on the peninsula (west staging). I have more rolling stock than can operate on the layout at once (anyone else?) so I want to put a drawer under the layout beneath the staging tracks so cars can come on and off the layout. 

The trackplan on the home page does not yet reflect these changes, but what I also wanted to do was divide the peninsula with a view block, separating Korex from a two-track staging yard. But to do this I really needed to lengthen and widen the end of the peninsula. Which brings me to the point below: 

Move to extend, widen the peninsula

The move to extend and widen the peninsula took some re-jigging of the benchwork.  But I had the space in the aisle, so I figured I should take it. The staging tracks will be on the right. There will be a scene divider (backdrop) about six inches in from that right edge. Korex will go on the other side. 
Here it is with the foam added. 
I decided that the original peninsula width (21 inches) was too narrow to accomplish what I wanted. So I extended it two feet in length and widened it about eight inches at the end and tapered that back to the 21 inches. About six inches of the peninsula will be a two-track staging yard and Korex will be on the other side of the scene divider. 

I want to try and model Korex true to its size, but as a background building. The prototype has four siding tracks and at any given time there can be up to a dozen hoppers at this industry, including the off spots. I may have to crunch that down a bit, but I don't like having all small industries, even on a small layout. Here's an aerial shot of Korex:

This is an aerial of Korex from the west. You can see it's a large industry that takes plenty of plastic pellet hoppers. 


Here's a shot from the ground level where the tracks diverge:

This is Korex from ground level. This is where the tracks diverge: off-spots on the left, unloading tracks on the right. The fact that it's a big, busy customer makes modelling this industry appealing to me. 

Adding a hill to the "back turn"

The hill begins to take shape. I'm considering adding a drainage ditch between the track and facia you see at the left. 


While I was waiting to get some lumber to re-jig the peninsula, I decided to fill the area between the back turn of the "U" and the backdrop. I used left-over foam insulation and covered it with Sculptamold. 

This is the start of the hill. The south wall is to the left, the west wall is straight ahead. 


This is the first time I've done any scenery but I'm fairly happy with how it turned out. I found the Sculptamold a bit dry at the suggested mixing instructions, so I added more water. Upside: it spread more smoothly. Downside: it took forever to dry. Next time I'll stick to instructions. I think it's supposed to be that dry.

This is the hill after the Sculptamold was applied. The camera light meter wasn't set right here so it's hard to see the detail in the white Sculptamold here. 


I worked left to right and the first effort was much lumpier than where I finished up on the right side. Next step is to cover it with some tan latex paint and ground turf, foam, etc. I'd like to add a shallow drainage ditch between the track and facia in this area. 

What's next?


Here's a brief list of what I hope to accomplish in the next few weeks.

  • Build the scenic divider for the peninsula.
  • Figure out where the buildings and road will go on the left (non staging) side of the peninsula. 
  • lay track on the peninsula, wire and test it. This will mean the entire layout (aside from the east staging) is operation.
  • Cut and contour the shape of the drainage ditch.
  • Get the facia attached to the layout. 
  • I may also paint the foam all over the layout, with plans to scenic it later. The pink is driving me nuts!
I love to get comments. Come back for future posts, in which i will introduce the layout's motive power.  

Happy modelling.


Tuesday, 16 April 2013

A great room-sized layout (and no, it's not mine)

I'm always on the lookout for websites that chronicle the construction of modern, room-sized HO-scale layouts. I'm particularly interested in diesel-era, point-to-point switching layouts and modules.

A few of the links on this blog (look to the right) will take you to some of the favourites I've found. Please feel free to email me with suggestions of other sites/blogs that fit this description and that I've not already linked to. The web is a big place!

Dan Gaken is building such a layout in his basement called the Huron & Eastern. He doesn't have one website or blog devoted to the project but has posted pictures on his flickr site (including a track plan) and what I hope will be the first of many video journals of the layout's progress on YouTube.

Here's the track plan, click on the image to make it bigger:

A very well-executed track plan! Can't wait to see his layout progress


First I'm impressed by how well his track plan looks compared to mine, which let's face it is a bit of a disaster.

I'm also struck by the inventiveness of this plan. Even though the shelves are fairly narrow, the plan doesn't look too crowded. The deep facia gives the layout a nice clean look, even though the layout is in the mid stages of construction. The aisles are also not crowded, a nice feature for visitors.

Having the ship and Saginaw river in the middle peninsula is a great design feature as well, it nicely incorporates the prototype. I also like how he included an interchange and managed to avoid a back-bending duck under.

Here's his YouTube video of Dan explaining what his layout is all about and some of the design elements he tried to fold into it:


Finally here's a link to his set of flickr pictures documenting the layout progress

Here's one of those flickr pictures but the YouTube video looks much more up to date.

New HO Layout Progress - Fascia Installation

If anyone out there sees other layouts projects like this one on the web, I'd love to see them. Send an email here or comment on this post.

I'm hoping my next post will be about progress on my layout. Thanks for reading.

Thursday, 28 March 2013

Tentative track plan!


This plan was done in PowerPoint, which caused me to struggle a bit with the line curvatures. I realize some of those turnout shapes are screwy!


Greetings, 

Posted above is a tentative track plan. I don't have PhotoShop on my new computer and the old computer has all but died, so following the lead of Don Carman of the Conral Hagerstown Division, I did the track plan in PowerPoint, which worked not too badly. 

Some notes about this track plan:

  • It isn't to scale. The proportions are approximate but I have done a test fit of the track sections on the layout itself and everything will fit roughly as shown here. 
  • I realize the geometry of the curves isn't accurate. Particularly with the turnouts. I struggled with the  curved line function in PowerPoint. For this reason consider this as a rough-in plan, or more like a schematic.  
  • It strays from the prototype. This is done for many reasons. For example, I added the fictional Monarch Auto Parts because I wanted an industry that required boxcars. The real area I'm modelling has no such industry. 
  • The three-track staging yard is removable. The three tracks will be on a cassette that sits on top of the workbench, which is four inches below the layout height. That way if I need the workbench space for one of my woodworking projects, I can detach the staging yard and move it under the workbench. It will connect to the rest of the layout with a short piece of sectional track, in the same manner that modular layout sections are connected. I may knock the yard down to two tracks if three seems to take over too much of the space. I've heard many modellers say you can never have too much staging, so that's why I went with three long tracks. They will represent locations off the layout.
  • I may still add Polytainers. CP's map of industries along the spur is here. You can see I left a few out but I may add Polytainers to the open space on the west wall. I was worried the track plan was getting too crammed. Polytainers takes covered hoppers filled with plastic pellets, as does Korex.
  • Final note. I forgot to label it as such but the area near the yard office is a greatly chopped down version of CP's Lambton Yard, which runs (roughly) between Jane Street and Keele Streets. 
Next I'm adding the backdrop and laying track. I'd love to hear your input!